


Beyond Point-and-Shoot: A Homeowner’s Guide to Real Estate Photography Terms
Ever scroll through online listings and wonder what makes certain properties leap off the screen? It’s not just the home itself, but the quality of the photography. Professional real estate photography is a blend of art and science, using specific techniques and terminology to make a property look its absolute best. This guide will demystify the terms and techniques that turn a simple snapshot into a powerful marketing tool.
A Brief History of Real Estate Photography
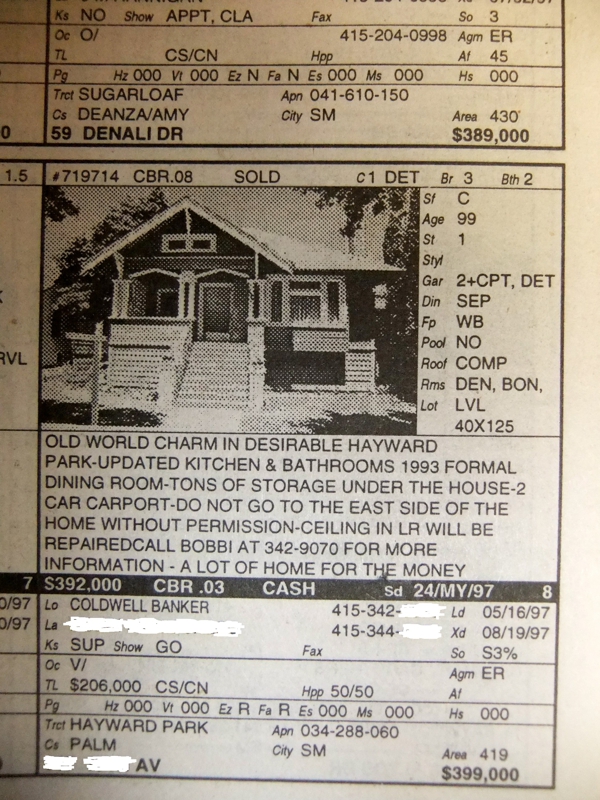 Decades ago, a single, often black-and-white, exterior shot in a newspaper was the standard. With the advent of digital photography and the internet, the game changed entirely. Visuals became paramount. Today, high-quality imagery isn’t just a bonus; it’s the foundation of a successful real estate marketing strategy, influencing everything from buyer interest to final sale price.
The Fundamentals: The Exposure Triangle
At the heart of any good photograph is a balanced exposure, achieved by managing three core elements.
- Aperture: This refers to the opening in the lens that controls how much light enters the camera. In real estate photography, a smaller aperture (represented by a higher f-stop number, like f/8 or f/11) is typically used. This creates a large “depth of field,” ensuring everything from the foreground furniture to the background details remains sharp and in focus.
- Shutter Speed: This is the duration the camera’s shutter remains open, collecting light. For interior shots, photographers often use a slower shutter speed to capture enough light for a bright, clear image. This necessitates the use of a tripod to eliminate any chance of blur from camera shake.
- ISO: This setting determines the camera sensor’s sensitivity to light. For real estate, the goal is always the lowest possible ISO (e.g., 100 or 200). This produces the cleanest, highest-quality image with minimal “digital noise” or graininess.
Advanced Techniques for a Polished Look
Professionals employ specific shooting and editing methods to overcome the challenges of photographing interiors.
- HDR (High Dynamic Range): An interior space presents a wide “dynamic range” – the bright light from a window versus the darker shadows of a room. HDR photography involves taking multiple exposures at different brightness levels and merging them. This composite image retains detail in both the brightest and darkest areas, creating a single, perfectly-lit photograph that mirrors what the human eye sees.
- AEB (Auto Exposure Bracketing): This is the camera function that makes HDR efficient. The photographer sets the camera to automatically capture a series of shots—typically one underexposed, one correctly exposed, and one overexposed. This bracket of images provides all the necessary data for creating the final HDR shot.
- Flambient: This technique offers the ultimate control over lighting by blending natural and artificial light. A photographer first captures an “ambient” light shot, using only the natural light from windows and the existing light fixtures. Then, they take another shot using an external flash to brighten the interior and render accurate colors. This process often includes a dedicated “window pull”—an extra, darker exposure focused solely on capturing the view outside the window without it being overexposed or “blown out.” These layers are then meticulously blended in post-production for a bright, clean, and natural-looking result that truly pops.
Common Problems and Professional Solutions
Photographers are constantly solving visual problems on site. Here are a few common ones:
- Problem: Rooms appear dark and uninviting.
- Solution: Beyond turning on every light, a photographer uses a tripod and a slow shutter speed to soak in ambient light, creating a bright and welcoming atmosphere.
- Problem: The walls have an unnatural yellow or blue tint.
- Solution: This is a “color cast” issue caused by varying light temperatures. Professionals correct this by setting a custom white balance in-camera or by precisely adjusting the colors during the editing process to ensure whites are white and colors are true-to-life.
- Problem: Vertical lines of walls and doorways appear to be leaning.
- Solution: This effect, known as perspective distortion or “converging verticals,” happens when a camera is tilted. Professionals prevent this by keeping the camera perfectly level and using specialized wide-angle lenses designed to minimize distortion.
Summary: The Value of a Professional Image
Understanding these terms reveals the intention and skill that go into creating compelling real estate photography. From mastering the exposure triangle to employing advanced techniques like Flambient, a professional photographer has the tools and expertise to present a property in its best possible light.
In a competitive market, stunning visuals are what capture a buyer’s attention and drive them to book a showing.
Ready to elevate your property’s marketing? Invest in a professional real estate photographer and make a powerful first impression.